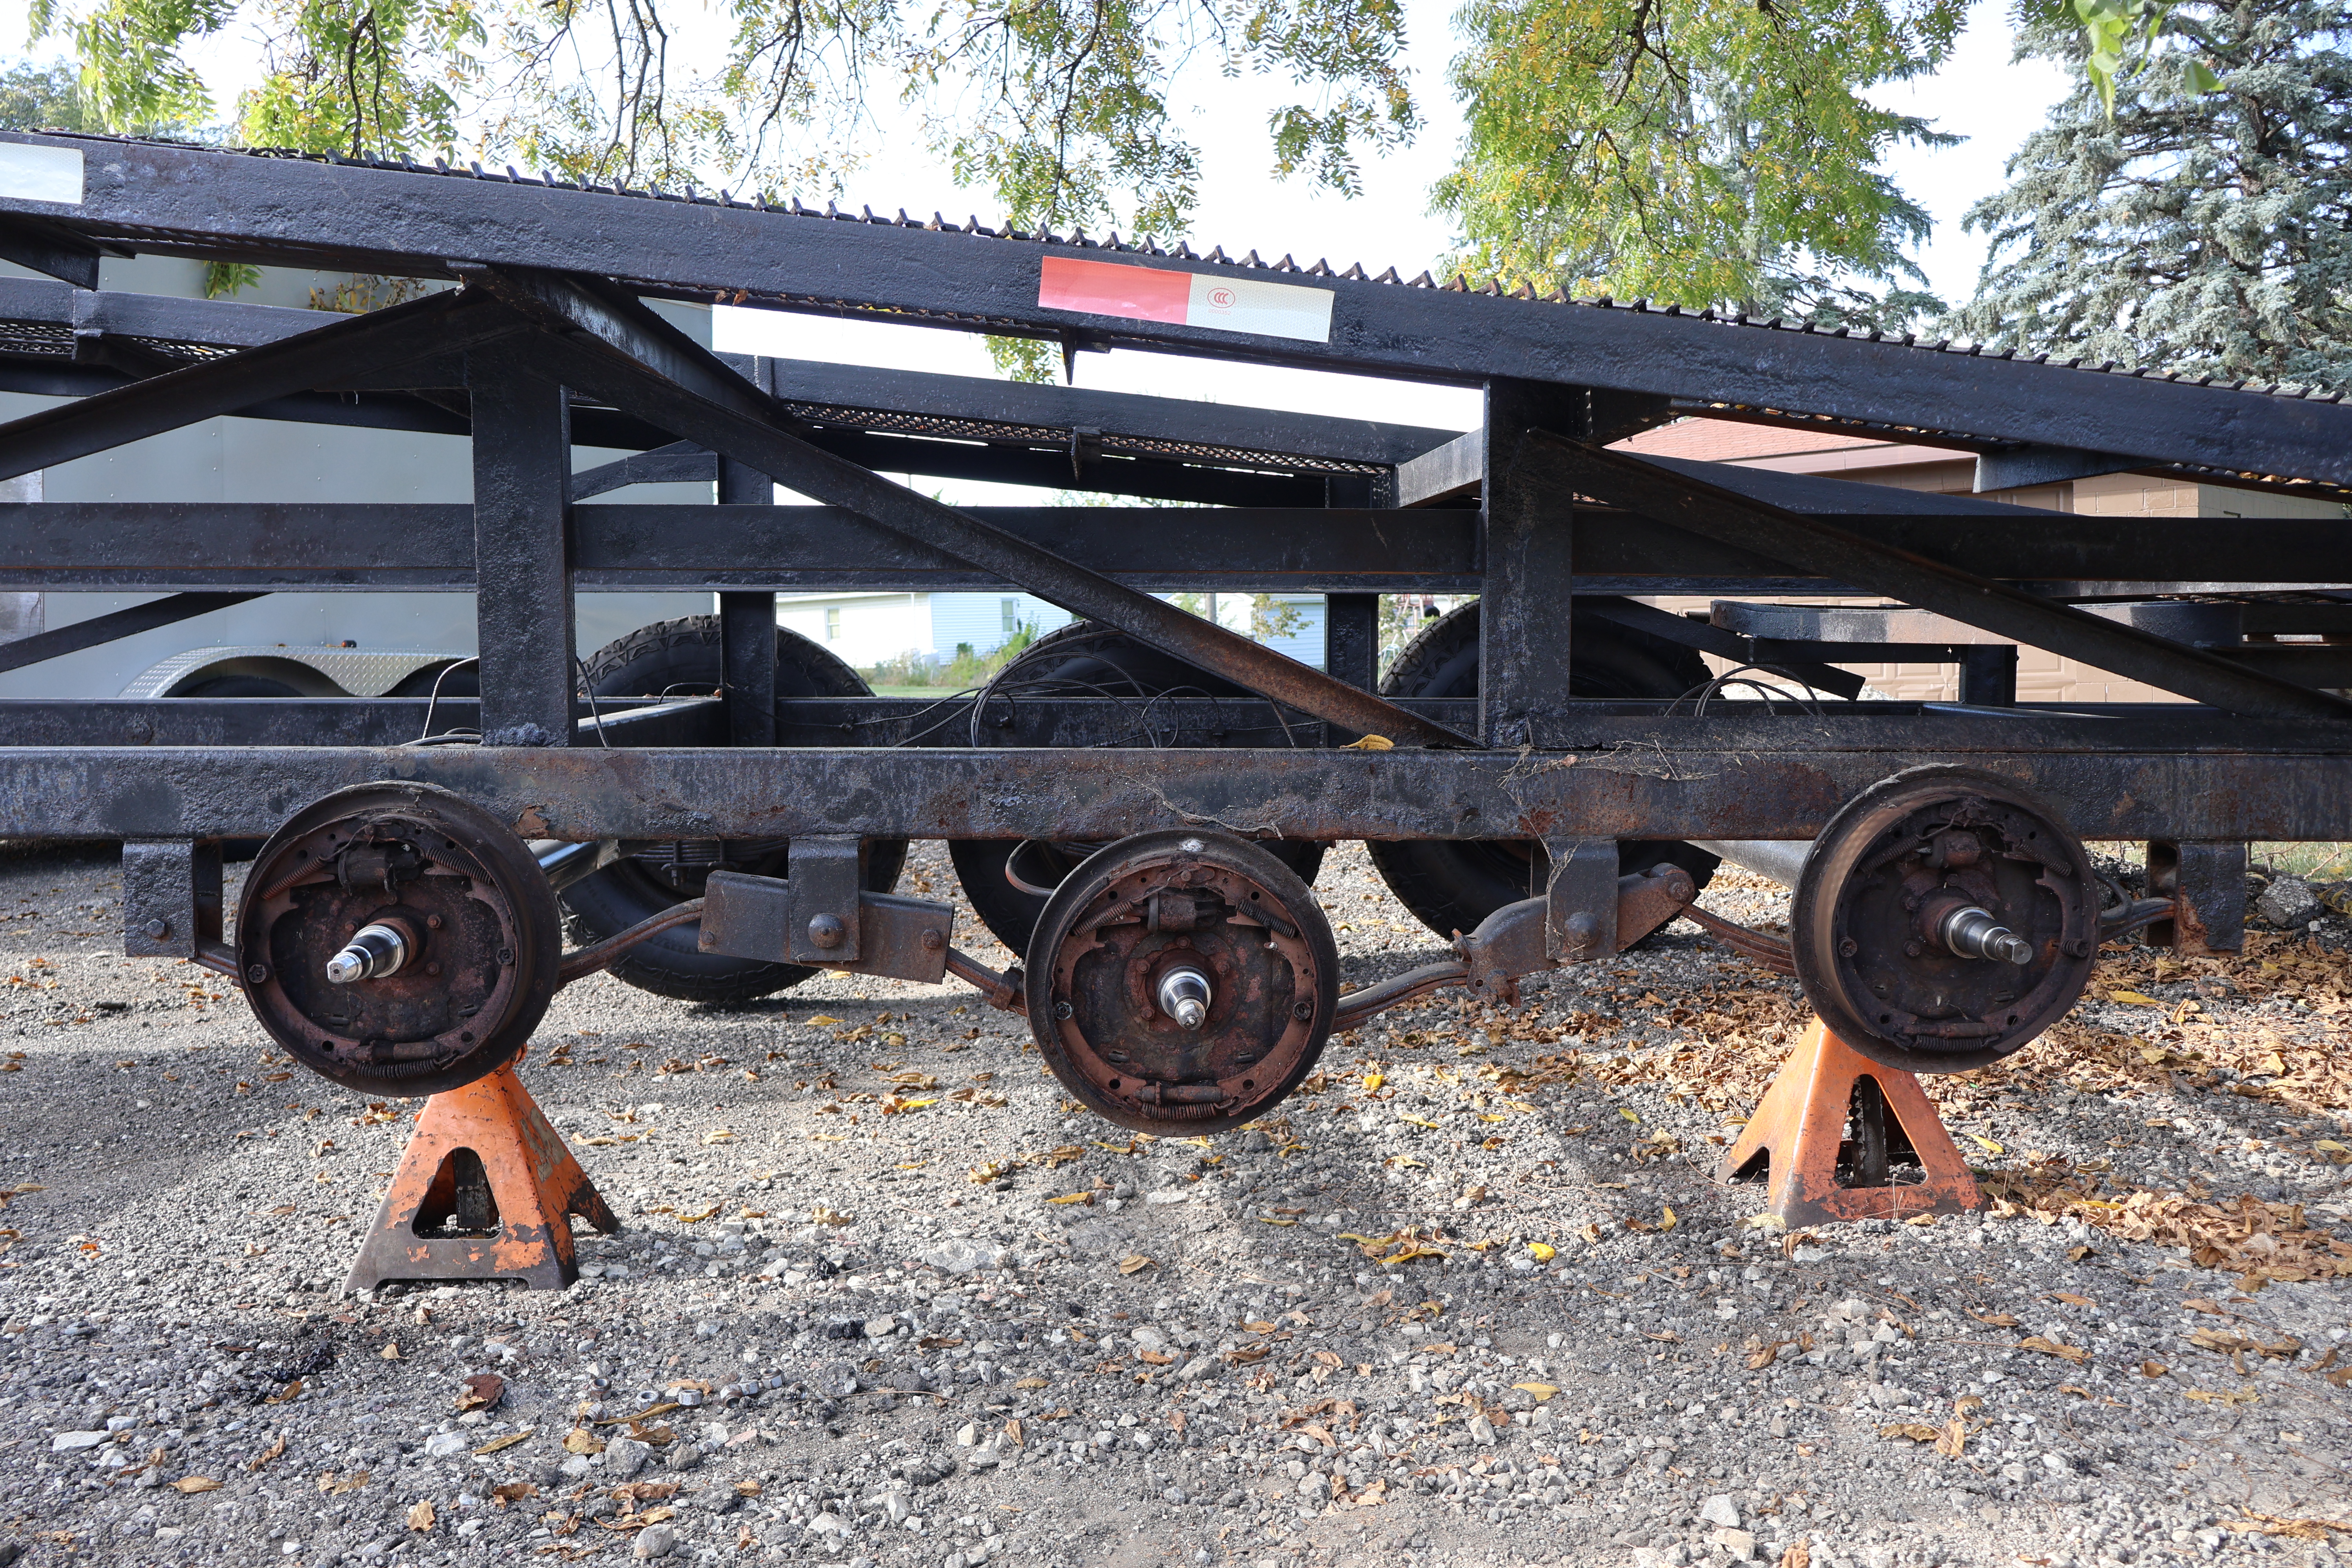
Why Are My Trailer Brakes Not Working? Common Issues, Diagnosis Tips, and How to Fix Them
If your trailer brakes aren’t working like they should, you’re not alone. Faulty brakes are one of the most common trailer issues — and one of the most dangerous. Whether you’re towing a utility trailer, camper, or car hauler, working trailer brakes are essential for safe, legal operation.
In this post, we’ll break down the most common reasons trailer brakes fail, how to diagnose the issue, what to inspect, and how to get the parts you need from Blueswift Axles.
Common Reasons Trailer Brakes Stop Working
Several factors can cause trailer brakes to fail or underperform. Here are the most frequent culprits:
-
Poor electrical connection – Corroded plugs, broken wires, or loose grounds can cause intermittent or complete brake failure.
-
Blown fuses or bad brake controller – If your tow vehicle’s fuse is blown or the brake controller isn’t functioning, your trailer brakes won’t engage.
-
Worn brake shoes or magnets – Like car brakes, trailer brakes wear over time. Worn components won’t stop the trailer effectively.
-
Improper adjustment – Electric drum brakes need periodic adjustment. If they’re too loose or too tight, braking performance suffers.
-
Grease contamination – If grease leaks from a failed seal onto the brake shoes, braking force can drop significantly.
-
Broken or weak return springs – These help the brake shoes reset after activation. If they’re missing or worn, the brakes may drag or fail.
How to Diagnose the Problem
Before replacing parts, take these steps to pinpoint the issue:
-
Start with the brake controller – Check if the controller lights up when you apply the brakes. If not, inspect fuses and wiring.
-
Test the trailer plug – Use a multimeter or trailer plug tester to confirm voltage is reaching the brake pin (usually pin 2 on a 7-way).
-
Listen for brake magnet hum – With the trailer jacked up, apply the brakes manually and listen near each wheel for a slight humming sound — this means the magnet is engaging.
-
Check for fault codes – Some brake controllers display error codes if wiring or voltage issues are detected.
How to Inspect Your Trailer Brakes
If electrical checks out, it’s time to physically inspect the brakes:
-
Remove the hub/drum – Inspect the brake shoes for wear. If lining is thinner than 1/16″, they need replacement.
-
Look for scoring or heat marks – Grooved drums or discolored shoes signal overheating or poor adjustment.
-
Check the magnets – A worn magnet surface or frayed wires indicate it’s time to replace.
-
Inspect brake wiring – Look for pinched, corroded, or loose wires near the axle and behind the backing plates.
-
Spin the wheel and apply brakes – The wheel should stop or slow significantly when voltage is applied manually.
Blueswift Axles Has the Trailer Brake Parts You Need
At Blueswift Axles, we stock a wide assortment of trailer brakes. Whether you need a single replacement or want to upgrade your entire brake system, we’ve got you covered.
-
Electric drum brakes in 7″, 10″, 12″, and 12-1/4″ sizes
-
Hydraulic drum and disc brake options
-
Grease seals, bearings, and hub/drum combos
-
Trailer brake wiring kits and breakaway systems
Our team is here to help you identify exactly what you need — fast. We offer high quality components and expert support from trailer brake professionals. Shop Now!
Need Help? Contact Blueswift Axles Today.
Still unsure why your brakes aren’t working or what part to replace? Reach out to our knowledgeable team. We’ll walk you through a fix and get you back on the road with confidence.
