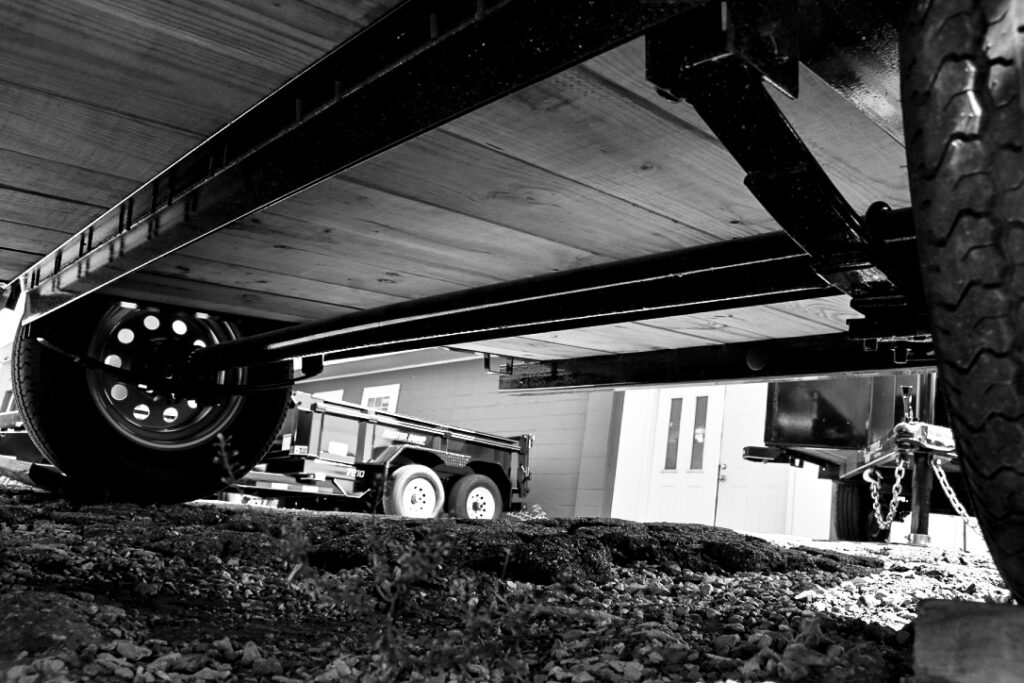
How to Replace Spring Axles on Your Trailer
Welcome to Blueswift Axles’ comprehensive guide on how to replace spring axles on your trailer. Whether you’re a seasoned DIY enthusiast or a first-timer, this guide will walk you through the process step by step, ensuring you have all the information you need for a successful axle replacement.
Understanding the Importance of Spring Axles
Before diving into the replacement process, it’s crucial to understand the role of spring axles in your trailer. Spring axles provide the necessary support to your trailer, absorbing shocks from road bumps and ensuring a smooth ride. Over time, these axles can wear out or get damaged, necessitating a replacement to maintain the safety and efficiency of your trailer.
Tools and Materials Needed
- New spring axles (compatible with your trailer model)
- Jack and jack stands
- Wrench set
- Socket set
- Screwdrivers
- Lubricant (like WD-40)
- Safety glasses and gloves
- Torque wrench
- Measuring tape
Step-by-Step Guide to Replacing Spring Axles
Step 1: Preparation
Safety first! Park your trailer on a flat, stable surface and apply the parking brake. Chock the wheels to prevent any movement.
Step 2: Lifting the Trailer
Using the jack, lift your trailer high enough so that the wheels are off the ground. Place jack stands under the trailer frame for additional safety.
Step 3: Removing the Wheels
Remove the lug nuts with a wrench and take off the wheels, exposing the axles.
Step 4: Detaching the Old Axles
Locate the U-bolts that secure the axle to the leaf springs. Use a socket wrench to remove these bolts. Be cautious as the axle may be heavy.
Step 5: Removing the Old Axle
Carefully slide the old axle out. If it’s stuck, apply some lubricant to ease the removal process.
Step 6: Positioning the New Axle
Place the new axle in the same position as the old one. Ensure it’s aligned correctly with the leaf springs.
Step 7: Securing the Axle
Reattach the U-bolts and tighten them with the socket wrench. It’s crucial to ensure these are well-secured for your safety.
Step 8: Reattaching the Wheels
Put the wheels back on the axle. When tightening the lug nuts, it’s crucial to follow the correct procedure to ensure safety and proper installation:
- Hand Tighten in a Star Pattern: Initially, hand tighten all lug nuts using a star pattern. This ensures even distribution of pressure across the wheel.
- Tighten to Half Specification: Next, tighten all lug nuts to approximately half of the recommended torque specification, still following the star pattern.
- Full Torque Specification: Finally, tighten all lug nuts to the full torque specification using the star pattern. This step is critical for ensuring the wheel is securely attached.
- Check Torque After First Use: After your first trip or 50 miles (whichever comes first), check the torque to ensure that all lug nuts are still properly tightened.
Important Tips for Wheel Installation
- Keep it Dry: Do not use lubricants on wheel nuts, studs, or mounting surfaces. For proper torque, these components should be clean and dry.
- Regular Checks: Periodically check the torque of the lug nuts, especially when refueling. The twisting and turning of a trailer can cause more stress than a normal automotive wheel, potentially loosening the lug nuts over time.
- Watch for Rust Signs: If you spot rust on the wheel, particularly around the lug nuts, this could indicate that they are becoming loose. Regular inspections can prevent this issue.
Step 9: Lowering the Trailer and Final Checks
Lower the trailer from the jack stands using the jack. Use a torque wrench to ensure all bolts, including the lug nuts, are tightened to the manufacturer’s specifications. Double-check the alignment of the axle and ensure everything is secure.
Step 10: Test Drive and Ongoing Maintenance
Take a short test drive to ensure everything is working correctly. Pay attention to any unusual noises or vibrations. Remember to periodically check the torque of the lug nuts and inspect for any signs of wear or rust.
Tips for a Successful Replacement
- Always refer to your trailer’s manual for specific instructions related to your model.
- Regularly inspect your axles for signs of wear and tear.
- If you’re unsure about any step, consult a professional.
Replacing the spring axles on your trailer is a manageable task with the right tools and a bit of patience. Regular maintenance, including proper wheel installation and periodic torque checks, is key to ensuring the longevity and safety of your trailer. Blueswift Axles is always here to provide quality parts and advice for all your trailer needs.
For help or questions leave your info and we’ll get an expert in contact.
Remember, if you have any more questions on how to replace spring axles, don’t hesitate to reach out to a professional mechanic. Safe travels!
