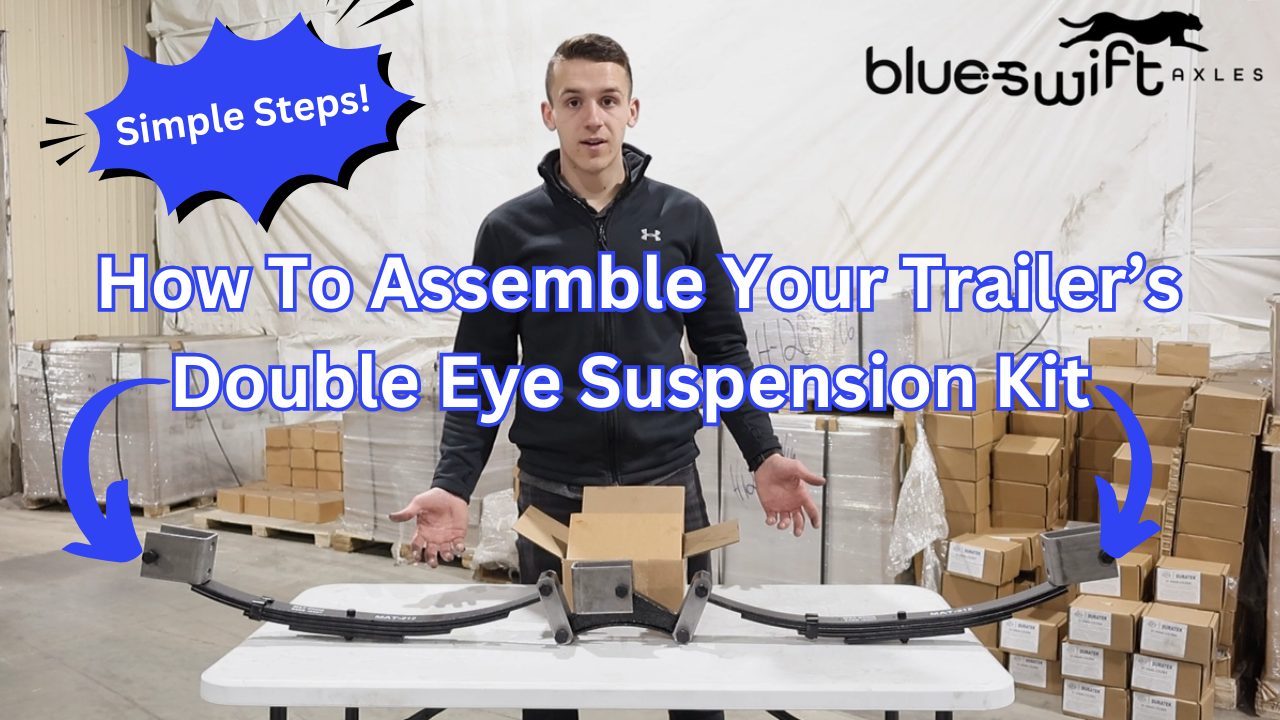
How To Assemble a Trailer Axle Suspension Kit | Step-By-Step Double Eye Spring Installation
Looking to assemble a trailer axle suspension kit the right way? In this video, I’ll walk you through the complete installation of a double eye spring suspension kit, from mounting the hangers and equalizers to installing the leaf springs and securing everything properly. Whether you’re replacing worn-out suspension parts or building a new trailer, this step-by-step guide will ensure your suspension is set up for a smooth and stable ride.
What You’ll Learn:
- How to properly install hanger brackets
- Step-by-step equalizer and bolt/nut setup
- Torque Spec For Suspension Nuts
- Correct positioning and installation of double eye leaf springs
- Tips to ensure proper alignment and durability
Tools & Parts Needed: Impact gun, welder, tape measure, wrenches, sockets, grease gun, and square or straight edge.
Step 1: Weld the Hangers
When installing a double eye suspension kit on your trailer the first step is to weld the hangers to the bottom of the frame. Getting the correct spacing between these hangers is critical for a smooth suspension. You can find helpful diagrams to help with spacing here: https://www.blueswiftaxles.com/trailer-diagrams/
Step 2: Assemble the Suspension Components
Once the hangers are installed, you can begin to assemble the suspension components including leaf springs, equalizers, and shackles. The first step is to attach the equalizer to the center hanger on the frame. After that is securely fastened, back the nut off the bolt to allow for the equalizer to swivel.
Step 3: Attach the Leaf Springs
The next step from here is to attach the leaf springs to the axles of your trailer using a U-Bolt kit. Once these are securely fasted and torqued to their correct specs, you can then go ahead and attach one side of the spring to the hangers on the frame.
Step 4: Bolt the Shackles
Before securing the leaf springs to the equalizer, you will need to bolt the shackles onto the equalizer. Doing it in this order will make it easier to attach the second eye of the leaf spring to the suspension set-up later on. Remember to back off the nut slightly allowing for the shackles to move freely.
Step 5: Secure the Leaf Springs
Now that the shackles have been fastened to the equalizer, bring the springs up and bolt the shackles around them ensuring the shackles are facing up. If one side is correctly mounted and the equalizer flips while attempting to mount the second, don’t worry, it can be fixed. To do this, simply wedge a prybar between the top of the equalizer and the frame and pry down on the equalizer until it flips. In conclusion, both sets of shackles are to be facing up with the springs attached. If yours looks like this, congratulations, you have successfully assembled your suspension kit!
A properly installed suspension means better handling, less wear on your axle, and a smoother towing experience. Shop now for a suspension kit for your trailer. Click here!
