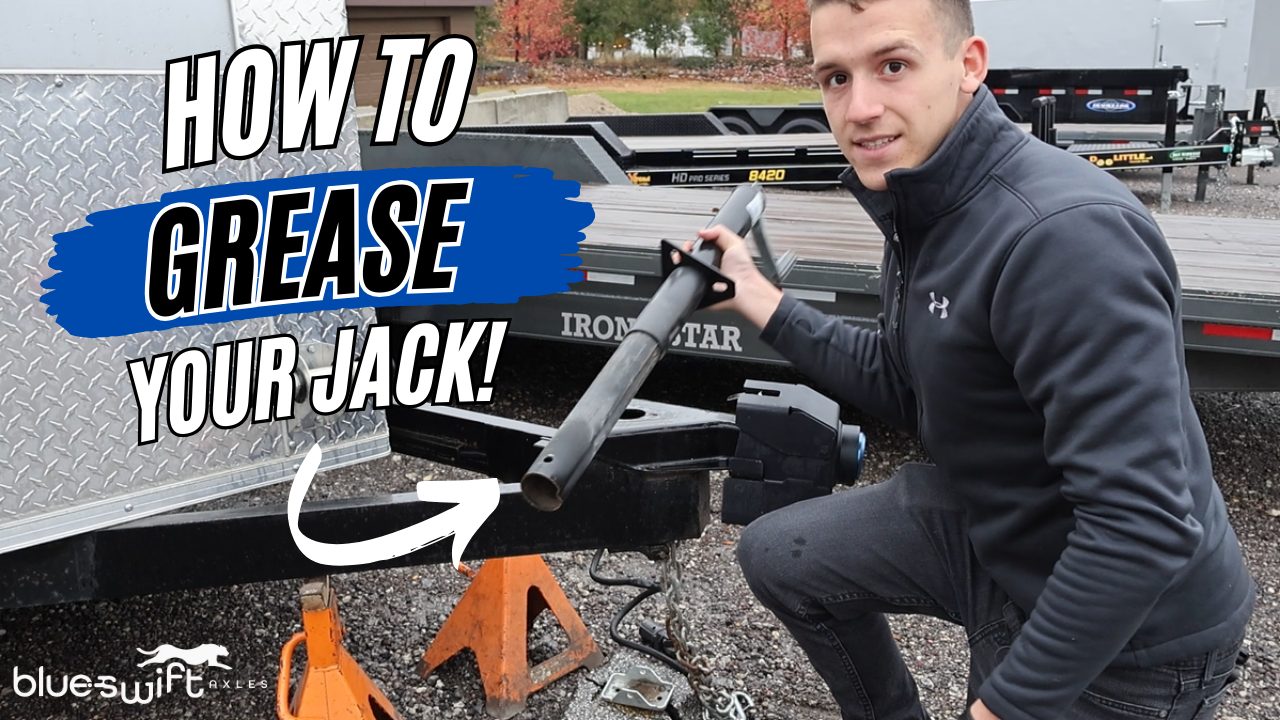
How to Grease a Trailer Jack
Keeping your trailer jack well-lubricated is key to smooth operation and long-lasting performance! In this video, we show you step-by-step how to grease your trailer jack to prevent rust, wear, and jamming. From gathering the right supplies to applying grease in the critical areas, you’ll learn the proper techniques to keep your trailer jack in top condition.
Step 1: Remove the Jack
Start by taking the jack off the trailer if you can. Removing it makes handling and disassembly much easier. Place two jack stands under the trailer tongue. Then lower the trailer onto the stands using the jack.
Step 2: Unbolt the Jack
Once the trailer sits securely on the stands, unbolt the jack from the frame. You may need to remove the foot plate at the bottom to free the jack completely.
Step 3: Disassemble and Clean
Begin disassembly by taking off the nut and bolt that hold the crank in place. Pull the crank out. Slide the outer sleeve off the crank housing. With the crank housing exposed, remove the washer and bearing from the shaft. Unthread the shaft from the casing. Once the shaft is free, scrub the threads with a wire brush to remove old grease and grime.
Step 4: Apply New Grease
After cleaning the threads, apply fresh grease. Use high-temp wheel bearing grease—the same kind used in trailer hubs. Work the grease into the threads from top to bottom. Make sure the threads are fully coated.
Step 5: Reassemble and Mount to Trailer
Reassemble the jack in reverse order. Once it’s back together, bolt it onto the trailer.
Whether you’re maintaining a new jack or reviving an old one, this simple job keeps hitching and unhitching smooth and easy. Looking to buy a new jack for your trailer? Shop Here!
