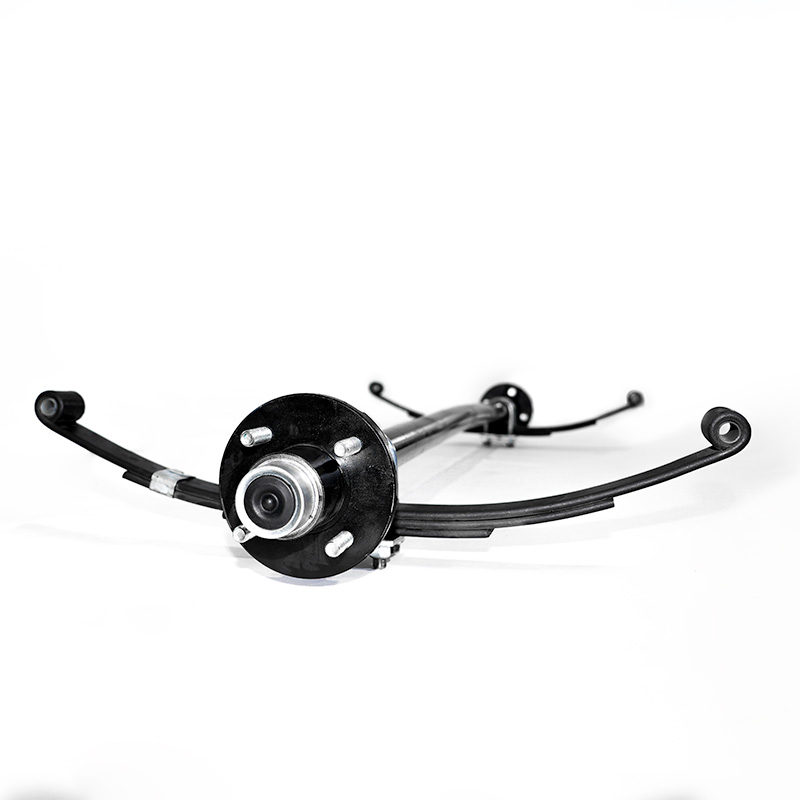
How to change the springs on your trailer axle
Changing springs on trailer spring axles is a maintenance task that may be necessary over time due to wear and tear or when upgrading to a different suspension system. Trailer spring axles are a critical component of a trailer’s suspension, responsible for supporting the load and providing a smooth ride. Here’s a step-by-step guide on how to change springs on trailer spring axles:
Tools and Materials Needed:
- Jack stands
- Hydraulic jack
- Wrenches
- Socket set
- Replacement springs
- These can be purchased via blueswift axles online store. For ordering questions fill out our contact form.
- Safety goggles
- Gloves
Procedure:
- Safety First: Always prioritize safety. Park the trailer on a level surface and engage the parking brake. Wear safety glasses and gloves to protect yourself during the process.
- Raise the Trailer: Use a hydraulic jack to lift the trailer off the ground. Ensure it is stable and secure, and then place jack stands under the frame to support the weight of the trailer.
- Locate the Axles: Identify the location of the axles on your trailer. Typically, trailers have one axle for smaller loads and two or more axles for heavier loads.
- Disconnect Components: Depending on your trailer’s configuration, you may need to remove various components, such as the wheels, brakes, or U-bolts that secure the axle to the trailer frame. Use a socket set and wrenches to disconnect these components carefully.
- Remove Old Springs: With the axle supported, you can now remove the old springs. Detach the springs from the hangers or brackets on the trailer frame. This may involve removing bolts or clips that secure the springs in place. Carefully lower the axle to remove the old springs.
- Inspect and Clean: Take this opportunity to inspect the axle and other components for any signs of damage, rust, or wear. Clean the axle thoroughly to remove any dirt, debris, or rust.
- Install New Springs: Position the new springs in place on the axle hangers or brackets. Ensure that they are properly aligned and that any mounting holes match up with the existing holes on the trailer frame.
- Reconnect Components: Reattach any components you removed earlier, such as U-bolts, brackets, or other fasteners. Tighten them securely.
- Lower the Trailer: Carefully lower the trailer from the jack stands using the hydraulic jack. Make sure the trailer is level and the springs are bearing the weight evenly.
- Test the Suspension: After changing the springs, it’s important to test the suspension to ensure it functions correctly. Bounce the trailer a few times or take it for a short test drive to check for any unusual noises or handling issues.
- Alignment: If you must disconnect the wheels or brakes, ensure they are properly aligned and functioning as intended. Adjust as necessary.
- Maintenance and Inspection: Regularly inspect the new springs and the entire suspension system for signs of wear or damage. Lubricate moving parts as needed to prolong the life of the components.
Changing springs on trailer spring axles can be a straightforward DIY task, but if you’re not comfortable with the process or have a more complex trailer setup, it’s advisable to seek professional assistance from a trailer service provider to ensure the job is done safely and correctly.
